Looking for a quick and tasty treat? These Chocolate Covered Banana Pops are the perfect answer! With just a few ingredients, you can whip up a delicious snack that will please anyone. It’s an easy recipe that combines ripe bananas with rich chocolate, and you can add your favorite toppings. Join me as I guide you through the simple steps to create this fun dessert that kids and adults will love!
Why I Love This Recipe
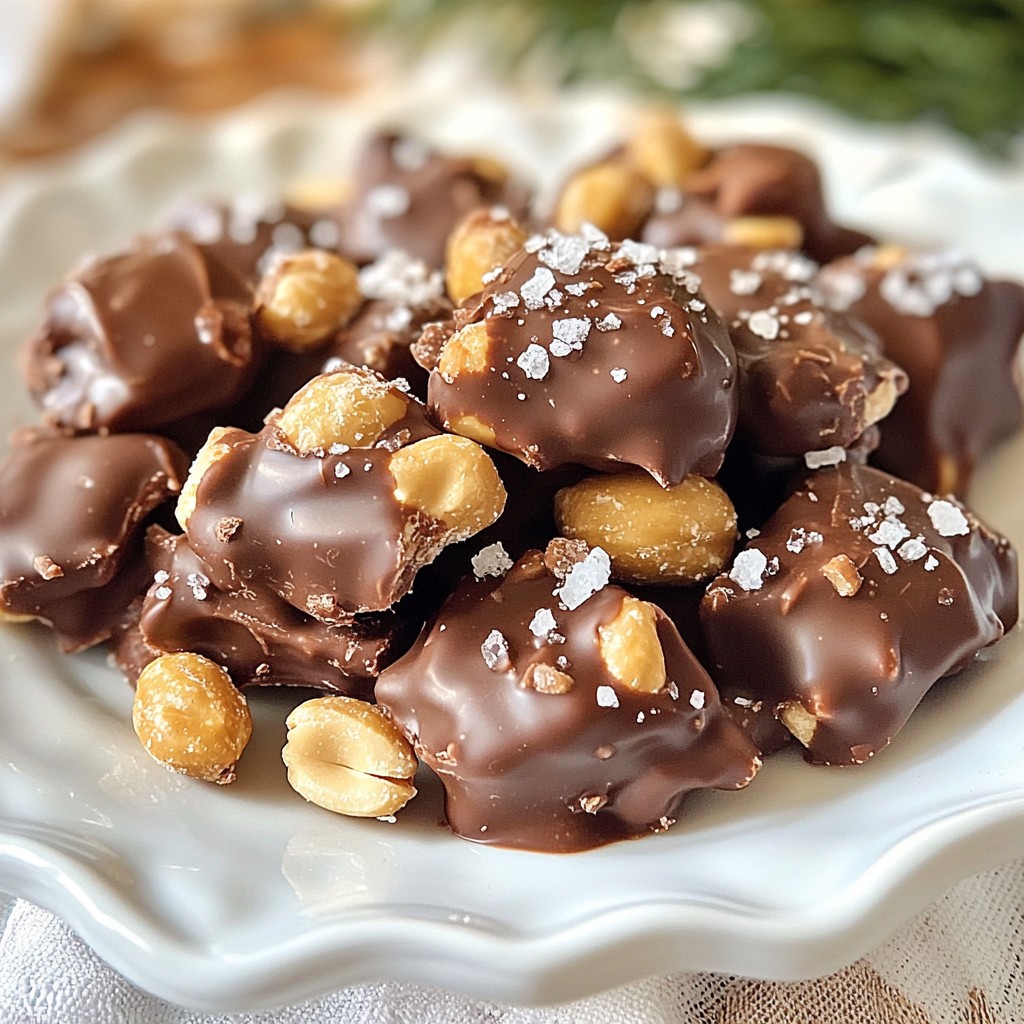
- Delicious Combination: The rich dark chocolate perfectly complements the natural sweetness of the bananas, making each bite a delightful treat.
- Easy to Make: This recipe requires minimal ingredients and steps, making it perfect for a quick yet impressive dessert.
- Customizable Toppings: Feel free to experiment with different nuts, seeds, or even sprinkles to suit your taste preferences.
- Healthy Indulgence: These banana pops are a healthier alternative to traditional desserts, providing a tasty way to enjoy fruit.
Ingredients
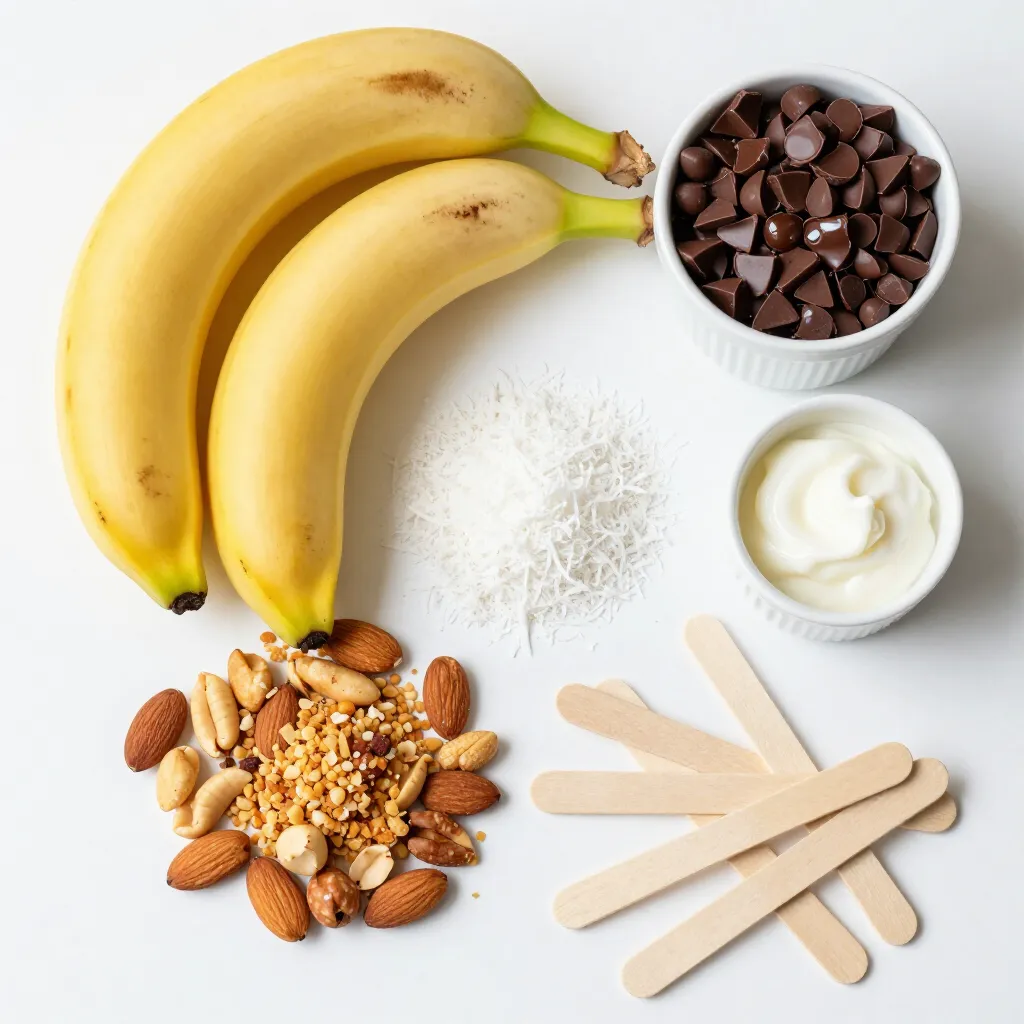
List of Essential Ingredients
– 2 ripe bananas
– 1 cup dark chocolate chips
– 1 tablespoon coconut oil
– 1/4 cup crushed nuts (almonds, peanuts, or hazelnuts)
– 1/4 cup shredded coconut (optional)
– 4 popsicle sticks
Gathering the right ingredients is key for this tasty treat. You need ripe bananas for the best flavor and texture. Dark chocolate chips give a rich taste when melted. Coconut oil helps the chocolate coat the bananas smoothly. You can add crushed nuts for a nice crunch. Shredded coconut is optional but adds a fun twist. Lastly, don’t forget those popsicle sticks to hold your banana pops!
Step-by-Step Instructions
Preparing the Bananas
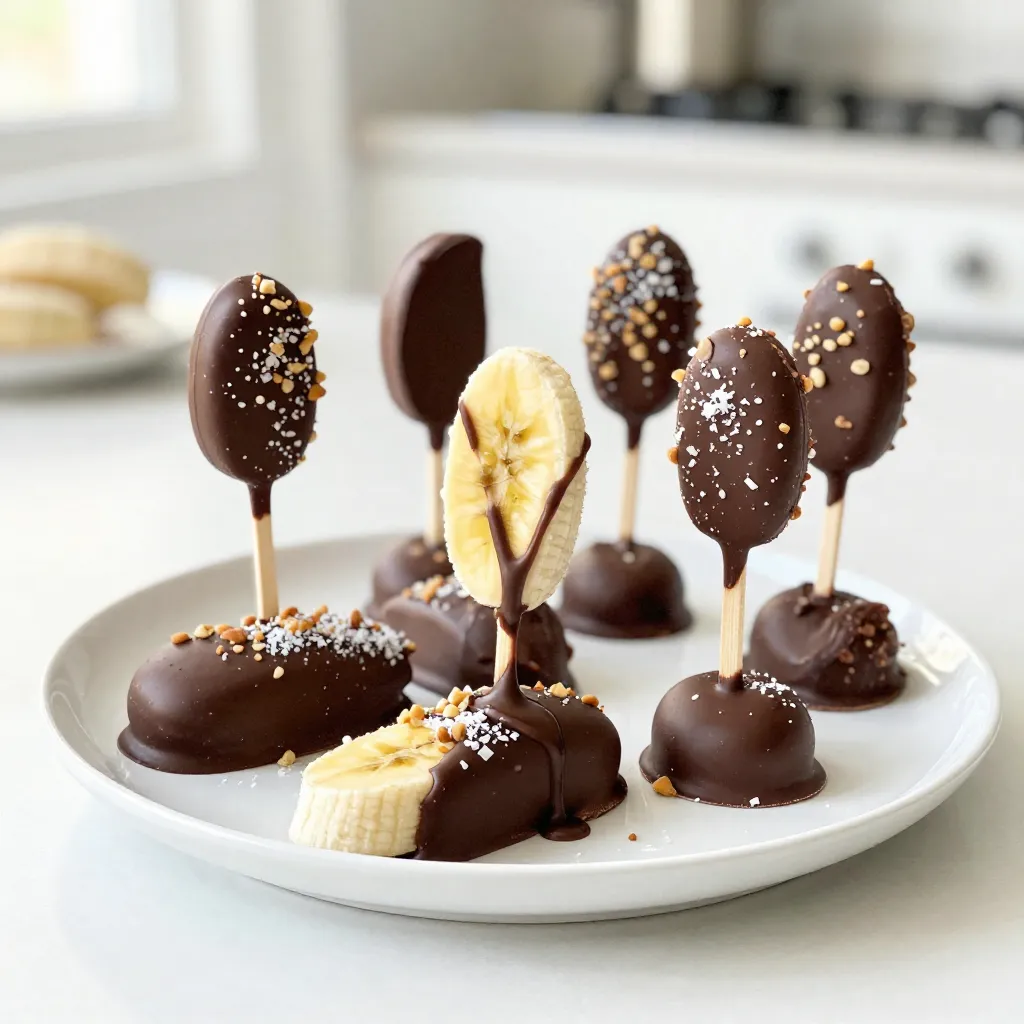
Start by peeling the bananas. You want ripe bananas for the best taste. Cut each banana in half crosswise. Now, take a popsicle stick and insert it into the cut end of each banana half. This makes it easy to hold later.
Melting the Chocolate
Next, we will melt the chocolate. In a microwave-safe bowl, combine one cup of dark chocolate chips and one tablespoon of coconut oil. The coconut oil helps the chocolate melt smoothly. Microwave this mixture in 30-second bursts. Stir after each burst. Keep going until the chocolate is fully melted and smooth.
Dipping and Topping
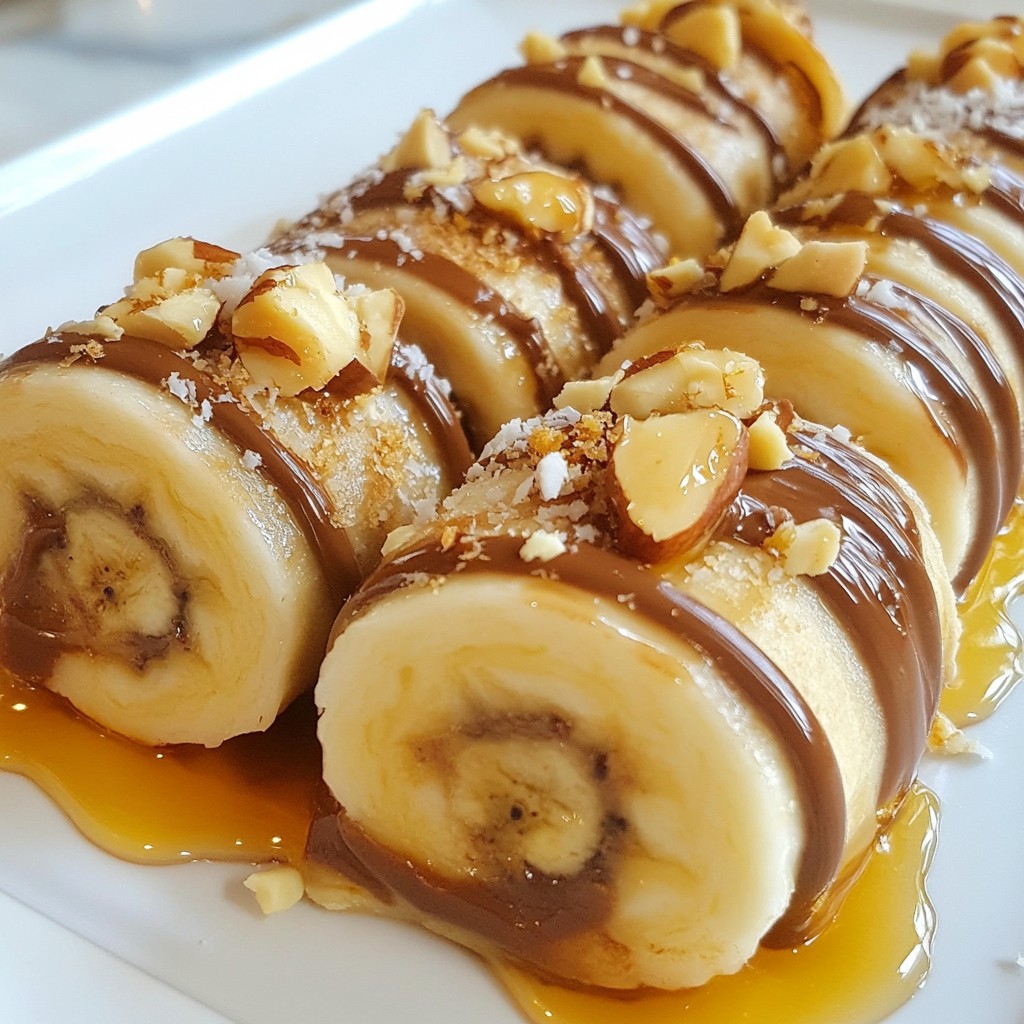
Now, it’s time to dip the bananas. Hold each banana by the stick and dip it into the melted chocolate. Make sure the banana is fully coated. Allow any extra chocolate to drip off. While the chocolate is still wet, you can add toppings. Sprinkle crushed nuts or shredded coconut on top. This adds great flavor and texture.
Freezing and Serving
After coating the bananas, place them on a baking sheet lined with parchment paper. Make sure they are spaced apart. Put the baking sheet in the freezer for about one hour. This will let the chocolate harden. Once frozen, you can serve these banana pops right away. They are a cool and tasty treat!
Tips & Tricks
Achieving the Perfect Chocolate Coating
To get that smooth chocolate coating, use coconut oil. It helps the chocolate melt evenly. Melt the dark chocolate chips and coconut oil together in the microwave. Heat it in 30-second bursts. Stir in between to keep it smooth. If the chocolate clumps, it may be too hot or too cold. Always stir well after each burst.
Presentation Ideas
To make these banana pops look fancy, use a nice plate. Arrange the pops in a circle or a line. Drizzle any leftover melted chocolate over the top for flair. You can also add fresh mint leaves for a pop of color.
Making Ahead Tips
You can prepare these banana pops ahead of time. Just follow the steps, then freeze them. They store well in the freezer. To keep them fresh, wrap pops in plastic wrap. If you have leftovers, eat them within a week. This way, they stay tasty and fun!
Pro Tips
- Choose Ripe Bananas: For the best flavor and texture, select ripe bananas that are slightly speckled. Overripe bananas will be too soft, while underripe ones may not have enough sweetness.
- Use Quality Chocolate: Opt for high-quality dark chocolate chips for a richer taste. The chocolate should contain at least 60% cocoa for a nice balance of sweetness and bitterness.
- Experiment with Toppings: Get creative with your toppings! Try using different nuts, seeds, or even sprinkles to add a fun twist to your banana pops.
- Storage Tips: Store any leftover banana pops in an airtight container in the freezer for up to a week. This way, you can enjoy a quick snack anytime!
Variations
Different Chocolate Options
You can choose different types of chocolate for your banana pops. Dark chocolate is rich and has a deep flavor. It pairs well with the sweet banana. Milk chocolate is sweeter and creamier. It is a favorite for many. You can even use white chocolate for a fun twist. White chocolate adds a different taste and looks great.
Unique Topping Ideas
Get creative with toppings! Instead of just nuts, try sprinkles or seeds. These add fun colors and crunch. You can mix flavors, too. Pair dark chocolate with crushed almonds for a nutty taste. Try milk chocolate with rainbow sprinkles for a festive look. The options are endless!
Dietary Adaptations
If you are vegan, use dairy-free chocolate chips. Many brands now offer tasty vegan options. To make your treats gluten-free, check that your toppings are safe. Nuts and seeds are usually fine, but always read labels. This way, everyone can enjoy these tasty treats!
Storage Info
How to Store Chocolate Covered Banana Pops
To keep your chocolate covered banana pops fresh, freeze them right after making. Place each pop on a baking sheet lined with parchment. Make sure they do not touch. Once frozen, wrap each pop in plastic wrap. This helps keep the chocolate nice and smooth.
For best results, store the pops in an airtight container. This way, they won’t pick up any freezer smells. If you want, you can also use freezer bags. Just remove as much air as you can before sealing.
Shelf Life
In the freezer, your banana pops can last up to two months. They taste best when eaten fresh, so try to enjoy them sooner.
Check for signs of spoilage. If the chocolate looks dull or has white spots, it may have gone bad. Also, if the bananas look brown or mushy, it’s time to throw them away. Always trust your senses when it comes to food safety.
FAQs
What are the nutritional benefits of bananas?
Bananas are great for your health. They have lots of vitamins and minerals. Here are some key benefits:
– Potassium: Good for your heart and muscles.
– Vitamin C: Helps your body heal and stay strong.
– Vitamin B6: Important for brain health and mood.
– Fiber: Aids digestion and keeps you full.
Eating bananas can give you energy. They are a smart choice for snacks or treats.
Can I use frozen bananas?
Yes, you can use frozen bananas! They work well for this recipe. Here’s what to keep in mind:
– Texture: Frozen bananas are softer. They may not hold their shape as well.
– Thawing: Let them thaw slightly for easier dipping.
– Flavor: Frozen bananas can taste sweeter, making your pops even better!
Just make sure they are ripe before freezing. This ensures they are tasty and sweet.
How do I customize these pops for allergies?
You can easily make these pops allergy-friendly. Here are some tips:
– Chocolate: Use dairy-free chocolate chips for a vegan option.
– Nuts: Skip the nuts if you have nut allergies. You can add seeds instead.
– Coconut: Omit shredded coconut if you’re allergic.
Feel free to get creative with toppings! Use seeds, sprinkles, or dried fruit that work for your diet.
You now know how to make tasty chocolate-covered banana pops. We covered essential ingredients, step-by-step instructions, and helpful tips. You learned about variations, storage, and answered common questions.
These treats are fun, easy, and perfect for all ages. Enjoy making them your own with unique flavors and toppings. Keep experimenting to find your favorite combination, and share these delights with friends and family. Happy poppin