Get ready to indulge in a sweet and easy treat that’s perfect for any occasion! My S’mores Icebox Cake is a no-bake delight that combines classic flavors and simple steps. With layers of creamy whipped goodness, rich chocolate, and crunchy graham crackers, this dessert will impress your family and friends. Plus, it’s customizable to fit your tastes. Let’s jump into this delicious recipe and enjoy a little taste of summer, no campfire needed!
Why I Love This Recipe
- Decadent Layers: This cake is packed with layers of chocolate hazelnut spread, whipped cream, and mini marshmallows, creating a delightful combination of flavors and textures.
- No-Bake Delight: Perfect for warm days, this icebox cake requires no baking, making it an easy dessert to whip up quickly.
- Customizable: You can easily add your favorite toppings or mix-ins, making it a versatile dessert for any occasion.
- Perfect for Sharing: With 12 servings, this cake is ideal for gatherings, ensuring there’s enough to go around for everyone to enjoy!
Ingredients
Main Ingredients List
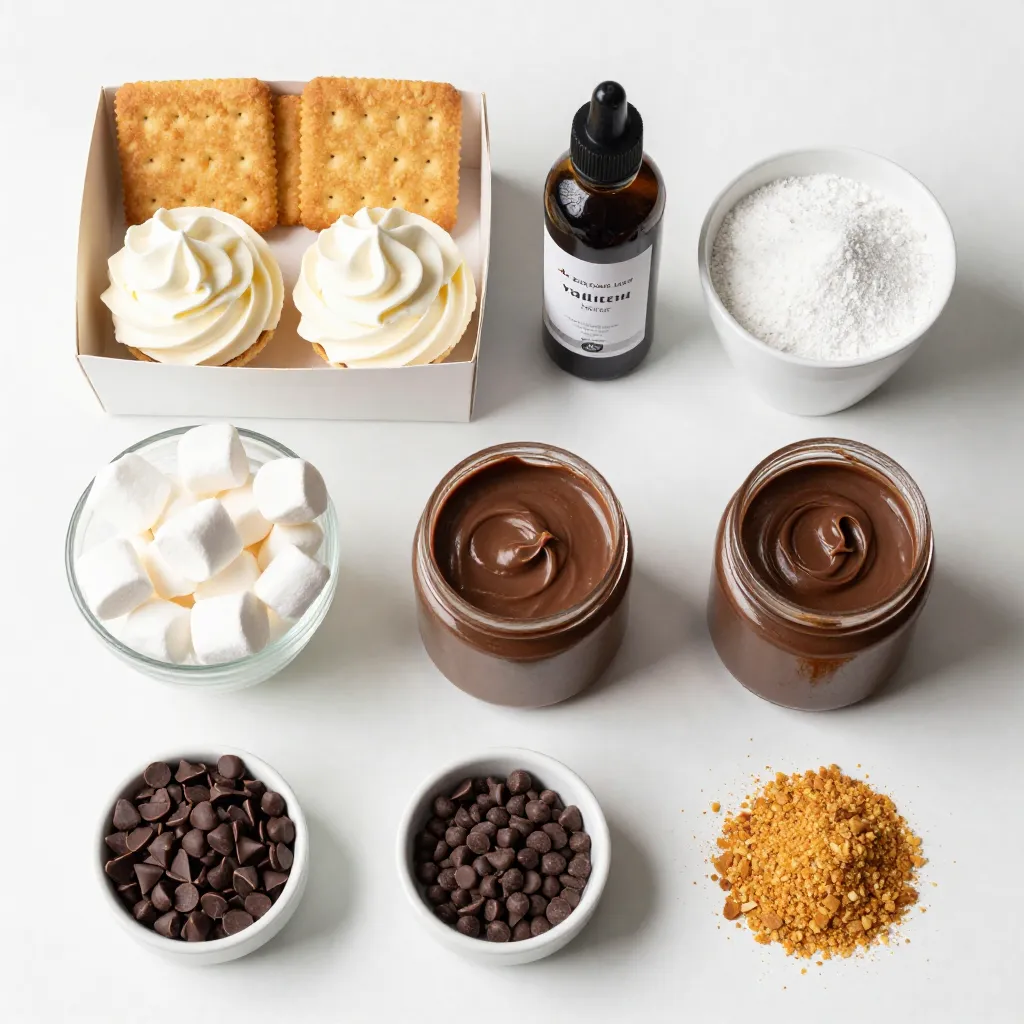
– 1 box of graham crackers
– 2 cups of heavy whipping cream
– 1 cup of powdered sugar
– 1 teaspoon vanilla extract
– 1 cup of mini marshmallows
– 1 cup of chocolate hazelnut spread
– 1 cup of chocolate chips
The main ingredients create the base of your S’mores Icebox Cake. Each item plays a key role.
Optional Garnishes
– 1/4 cup of mini chocolate chips
– 1/4 cup of crushed graham crackers
These garnishes add a fun touch. They make the cake look and taste even better.
Alternative Ingredient Suggestions
– For those who want a different flavor, try peanut butter instead of hazelnut spread. It adds a nice twist.
– You can use coconut cream or almond whipped cream for a dairy-free option. These still whip up nicely and taste great.
Using these suggestions helps you customize the cake to your taste. Enjoy experimenting!
Step-by-Step Instructions
Preparing the Whipped Cream
To start, grab a large mixing bowl. Add 2 cups of heavy whipping cream, 1 cup of powdered sugar, and 1 teaspoon of vanilla extract. Use an electric mixer to beat the mixture on high speed. Whip until you see soft peaks form. This usually takes about 3 to 5 minutes.
Tips for achieving the right consistency:
– Be careful not to overwhip; this can turn your cream into butter.
– Stop mixing as soon as you see soft peaks. The cream should be fluffy but still spreadable.
Assembling the Cake
Now it’s time to layer your cake. Take a 9×13 inch baking dish and spread a thin layer of chocolate hazelnut spread on the bottom. This layer helps hold everything together.
Next, place a layer of graham crackers over the spread. Break them into smaller pieces if needed to fit snugly. After that, spoon a layer of the whipped cream mixture over the graham crackers. Smooth it out evenly.
Then, sprinkle some mini marshmallows over the whipped cream layer. Repeat this process. Layer chocolate hazelnut spread, graham crackers, whipped cream, and mini marshmallows until all the ingredients are used. Finish with a layer of whipped cream on top.
Tips for even distribution of ingredients:
– Use a spatula to spread the whipped cream smoothly.
– Make sure to cover all gaps with graham crackers for a sturdy base.
Chilling Process
Chilling is key for this cake. It helps all the flavors blend and the cake set up nicely. Cover your baking dish with plastic wrap. Place it in the refrigerator for at least 4 hours. For the best results, chill it overnight.
Importance of chilling:
– Chilling allows the graham crackers to soften.
– It helps the layers meld together, creating a delicious overall flavor.
Recommended chilling time:
– A minimum of 4 hours is a must.
– Overnight chilling is even better for the best taste and texture.
Tips & Tricks
Common Mistakes to Avoid
– Overwhipping cream: Whipping cream too long makes it grainy. Stop when soft peaks form for the best texture.
– Layering tips: Make sure each layer is even. This keeps the cake balanced and easy to slice.
Enhancing Flavor
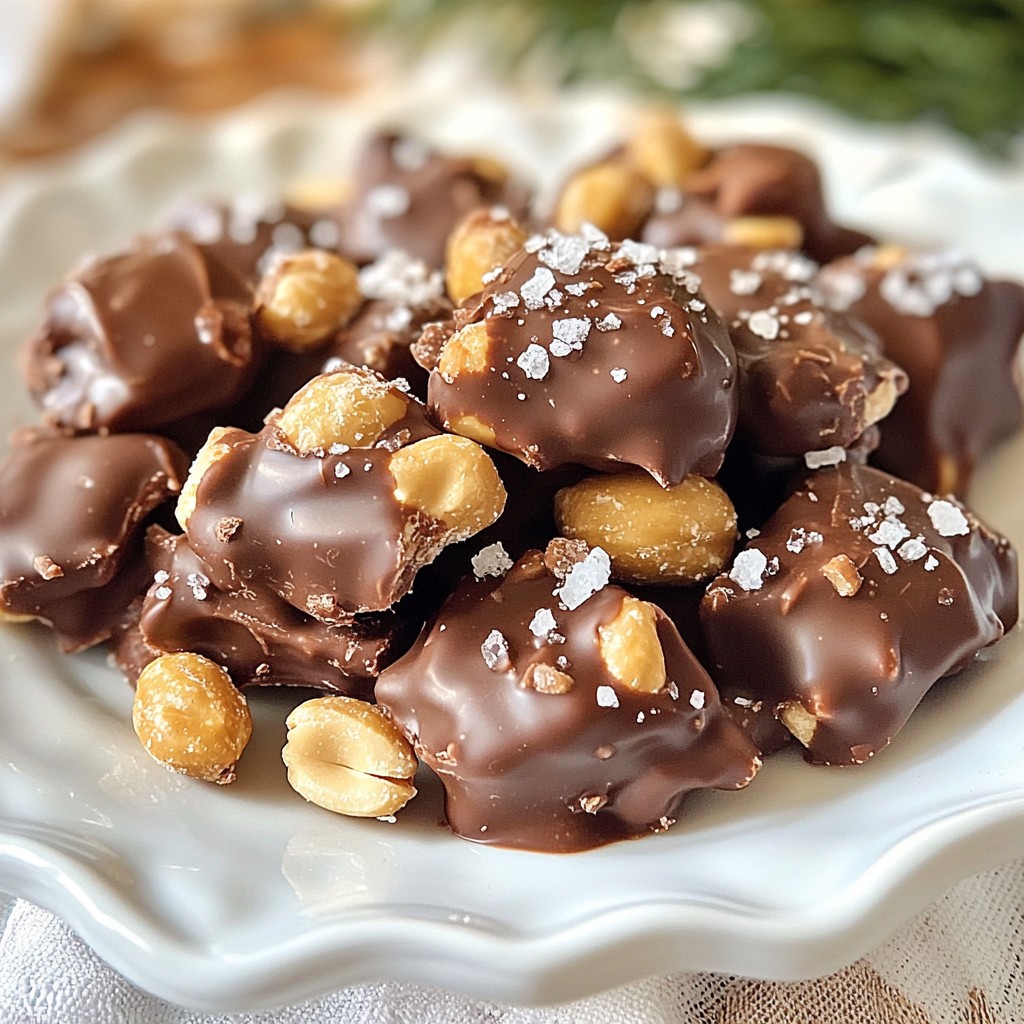
– Suggestions for additional toppings: You can add crushed nuts, mini Reese’s cups, or caramel drizzle. These add fun textures and flavors.
– Using flavored whipped cream: Try adding cocoa powder or cinnamon to your whipped cream. It gives the cake a unique twist.
Serving Suggestions
– Best ways to present the cake: Use a large spatula to cut neat slices. Serve on colorful plates for a fun touch.
– Pairing ideas for beverages: This cake pairs well with milk, hot cocoa, or coffee. These drinks enhance the sweet flavors of the cake.
Pro Tips
- Use Cold Ingredients: For the best whipped cream texture, ensure your heavy whipping cream is very cold. This helps it whip up faster and achieve soft peaks more easily.
- Layering Technique: When layering, make sure to spread each layer evenly to prevent the cake from becoming uneven or top-heavy, ensuring every bite is balanced.
- Chill Time: While 4 hours is the minimum chill time, letting the cake sit overnight will enhance the flavors and create a firmer texture, making it easier to slice.
- Garnish Wisely: For added visual appeal and texture, consider garnishing with toasted mini marshmallows or drizzling some chocolate sauce over the top before serving.
Variations
Flavor Variations
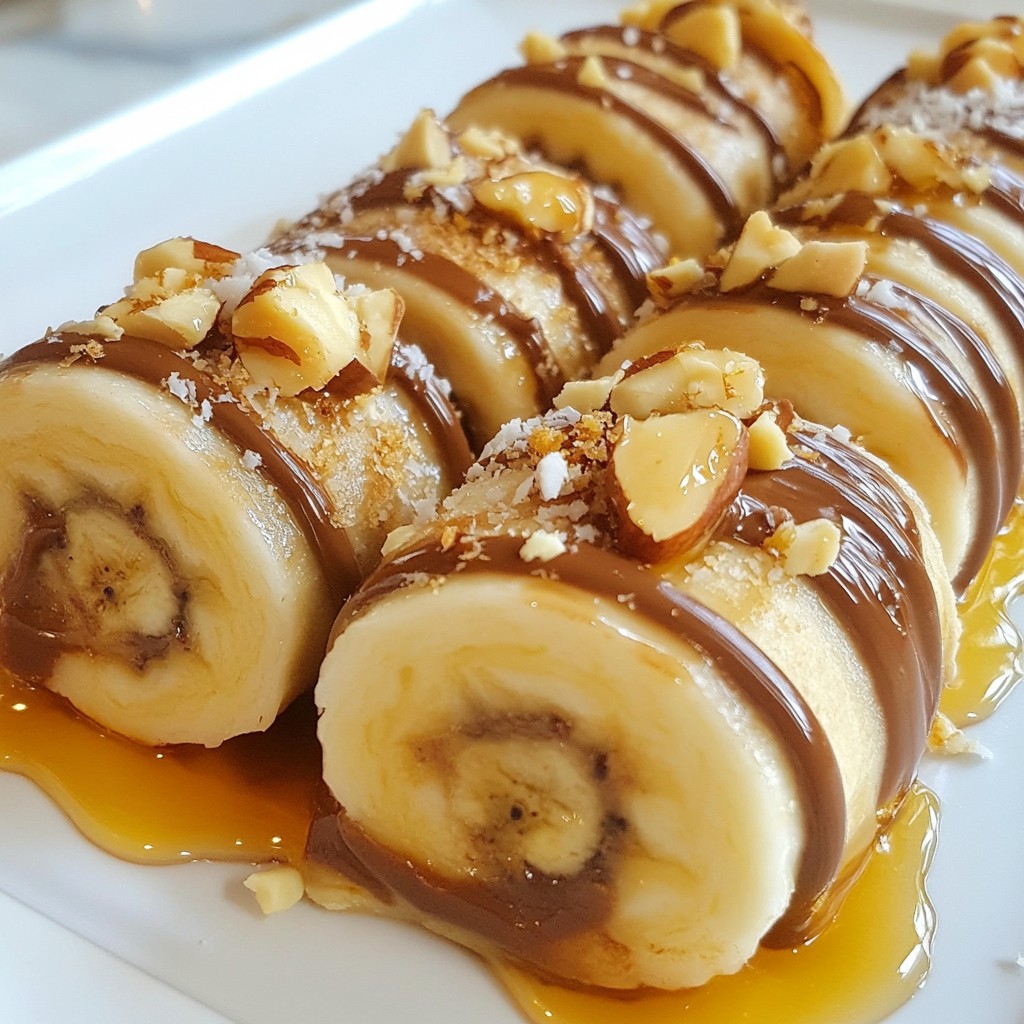
You can make this S’mores Icebox Cake even more exciting. One easy way is to add fruit layers. Bananas and strawberries work well. Just slice the fruit and add it between the layers. The fruit adds a fresh taste.
You can also switch up the spreads. Instead of chocolate hazelnut spread, try peanut butter. It gives a different flavor that pairs great with marshmallows. You can even mix spreads for fun new tastes.
Dietary Modifications
If you need gluten-free options, use gluten-free graham crackers. Many brands offer these, and they taste just as good. They will help you enjoy this treat without worry.
For vegan alternatives, replace the heavy whipping cream. Use coconut cream or a plant-based whipped topping. Make sure to check the labels to avoid dairy. You can also find vegan chocolate spreads to keep the flavor.
Themed Versions
You can adapt this cake for different holidays. For Christmas, add crushed peppermint to the layers. It gives a festive twist. You can also use red and green sprinkles on top.
For Halloween, consider using orange and black sprinkles. You could even add spooky candy decorations. This makes it a fun treat for parties or gatherings. With these themed versions, everyone will enjoy the S’mores Icebox Cake even more!
Storage Info
Best Storage Practices
For storing S’mores Icebox Cake, use an airtight container. A glass or plastic dish with a lid works well. If you don’t have a lid, cover the dish tightly with plastic wrap. This keeps the cake fresh and prevents it from absorbing other smells in the fridge.
Shelf Life
In the fridge, your S’mores Icebox Cake lasts for about 3 to 5 days. Make sure to keep it covered. If you want to save it for longer, you can freeze the cake. Wrap it tightly in plastic wrap, then place it in a freezer-safe container. It can last up to 2 months in the freezer.
Reheating Tips
You don’t need to reheat S’mores Icebox Cake. It tastes best cold. If you have leftovers, just slice and serve straight from the fridge. If it feels too firm, let it sit at room temperature for about 10 minutes. This way, it softens a bit, making it easier to enjoy.
FAQs
How long can S’mores Icebox Cake sit out?
S’mores Icebox Cake can sit out for about two hours. This time is safe for desserts. After that, you should refrigerate it. The coolness helps keep it fresh. Warm temperatures can lead to melting cream and soggy layers. Always check the weather too. On hot days, it’s best to store it in the fridge sooner.
Can I prepare S’mores Icebox Cake in advance?
Yes, you can prepare S’mores Icebox Cake in advance. In fact, making it a day before is best. This gives the flavors time to mix. You can cover the cake tightly with plastic wrap. Store it in the fridge until you’re ready to serve. Just remember to add toppings right before serving for a fresh look.
What can I add to make it more chocolatey?
To make your cake more chocolatey, try adding extra chocolate chips. You can also drizzle melted chocolate on top. Another option is to use a chocolate ganache instead of hazelnut spread. For a fun twist, add chocolate shavings or even chocolate syrup between the layers. These additions will boost the chocolate flavor and make it even more delicious.
This guide covers everything you need for a S’mores Icebox Cake. You learned about key ingredients and their roles. We discussed tips for making the whipped cream and assembling the cake. Avoid common mistakes and explore fun variations like fruit layers and themed versions. Proper storage ensures your cake stays fresh even after days. With this knowledge, you’re ready to impress at your next gathering. Enjoy every delicious bite of your creatio